
In this newsletter, I’m going to provide you 5 recommendations and digital camera settings for graphics. these are simply starting factors that will help you get going. So use them, however test and test and refine them on every occasion you do a photo shoot or flow to a new place.

1 – Which lens to use
I covered this topic in some depth in this article, How to Choose the Right Lens, so I won’t go into a lot of detail here. Head over there and read that for more info.
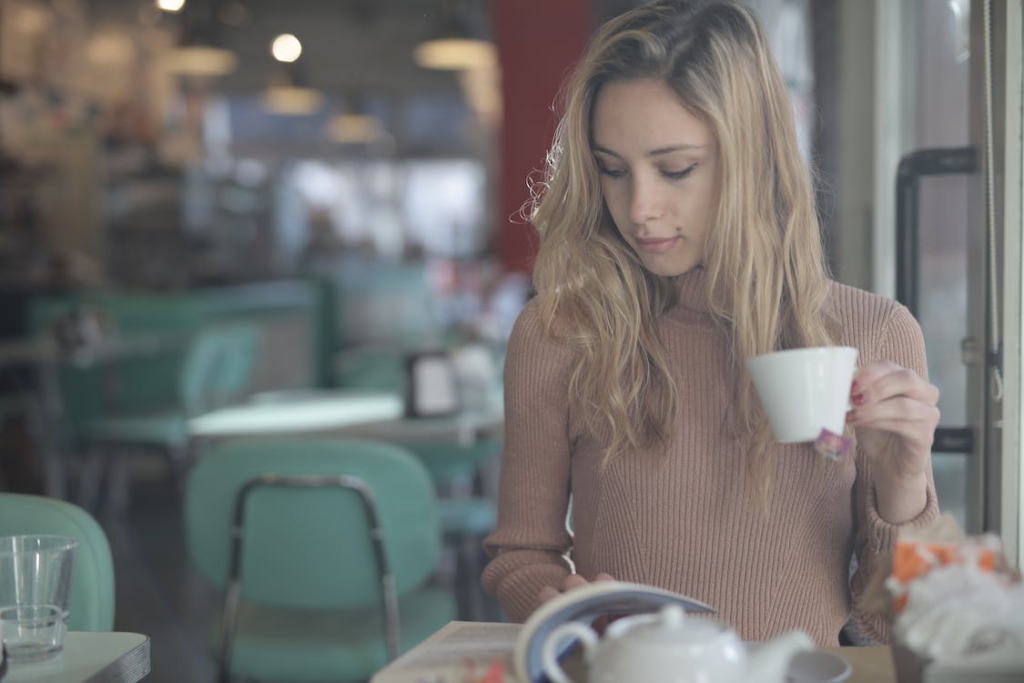
The short answer here is that if you want to flatter your subject, use a short telephoto lens. Something like an 85-100mm is a good choice. If you’re using a full frame camera try a 135-150mm lens.
What a telephoto lens will do is help you compress the perspective, throw the background more out of focus if that’s desired, and not distort the subject’s face. Using a wide-angle lens isn’t necessarily bad, but it will distort your subject and make their face look oddly proportioned and misshapen. Not usually something you want.
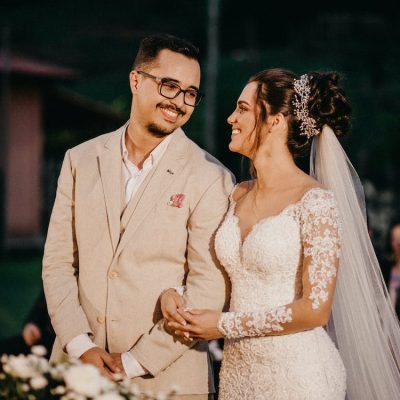
If you are doing more of an environmental portrait, a full-length pose, or shooting a group photo, then use of a slight wide-angle to a normal lens may be a good choice.
2 – Use a tripod
When I tell my students this in the classroom I often get met with a lot of resistance to using a tripod.
Many photographers feel it limits their creativity, and is cumbersome and just plain annoying. If that rings true for you as well – I will tell you two reasons why I recommend this, and you can decide.
First, using a tripod forces you to slow down.
This is a good thing!
Take time to check all your settings, analyze the light, and do a test shot. Trust me on this – you will get better results when you slow down and think, before pressing the button.
Secondly, you can get out from behind the camera and be eye-to-eye with the subject.
If you want to get the best expressions and build a rapport with the person you’re photographing – it’s pretty darn hard to do that when they can’t look you in the eye.
3 – Use a remote trigger
Adding in a remote trigger or release will help you get sharper images by avoiding any camera shake when you push the button.
This one just goes along with #2 above. Once you’re set up on a tripod you can also use a slower shutter speed (assuming you are photographing a grown-up person).
AND you can get even further out of hiding behind the camera. This is super important when photographing kids.
4 – Shoot in Manual Mode
What camera mode to shoot in is your next big decision to make.
I can tell you what modes I use for different situations. It’s pretty simple really – just follow these guidelines:
- If your camera is on a tripod, shoot in Manual Mode.
- When you’re shooting handheld, shoot in Aperture Priority.
I would say I follow that about 95% of the time.
So using a tripod also includes things like shooting HDR bracketed shots, night photography, and any long exposures.
For most casual shooting walking around like street photography and travel – I shoot in Aperture Priority. The only exception I can think of is when I want to do panning. Then I switch to Shutter Priority.
Okay now that you’re in Manual Mode, I’ll tell you why I recommend this. As I already mentioned above, using a tripod forces you to slow down. Well so does shooting in Manual Mode, in a way, so they work well together.
But the other thing shooting in Manual does is it allows you to choose all your settings and they will not change – even if the lighting or other factors change around you.
That also means you will have really consistent exposures from one frame to the next.
5 – ISO
For portraits, you want the highest image quality possible.
So for the ISO set it as low as you can to avoid excess noise in your photos.
Go for somewhere between ISO 100 and 400.
However having said that, you furthermore might need to hold a usable shutter pace.
If your image is blurry due to both subject or digital camera motion it’s beside the point how noise-loose it’s far.
I advise you start at ISO four hundred and modify as vital. which means, in case you’re capturing in the shade, low mild, or interior using window light you’ll probably want to boom that. Don’t be afraid to apply ISO 800 or maybe 1600 if you want to. but don’t forget you could additionally open up your aperture if the light is low.
It’s a dance you need to do to find the right balance of the three exposure triangle settings (ISO, aperture and shutter speed). Adjust one, and you’ll have to compensate by adjusting one of the other factors. Above all, do some test shots and review them on your LCD before you start shooting away.